Onto the grid iron
Ok, so maybe not iron, but it’s metallic!
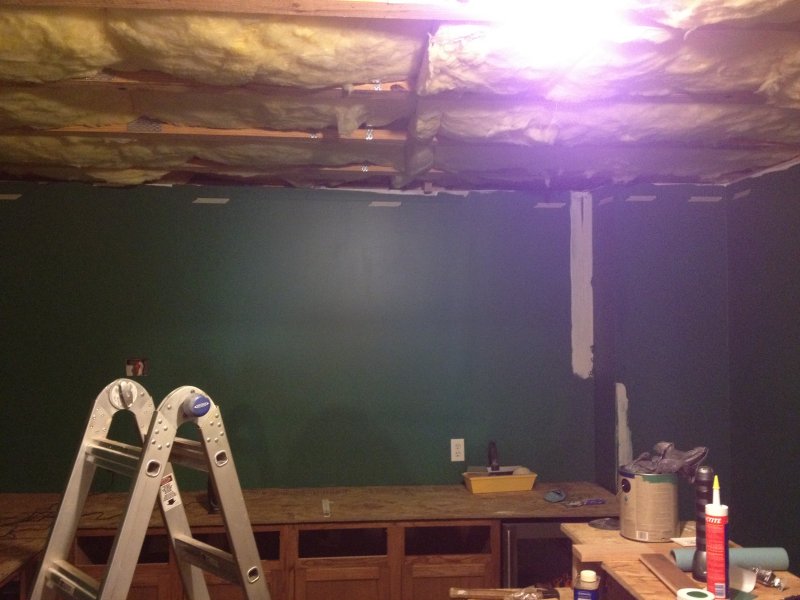
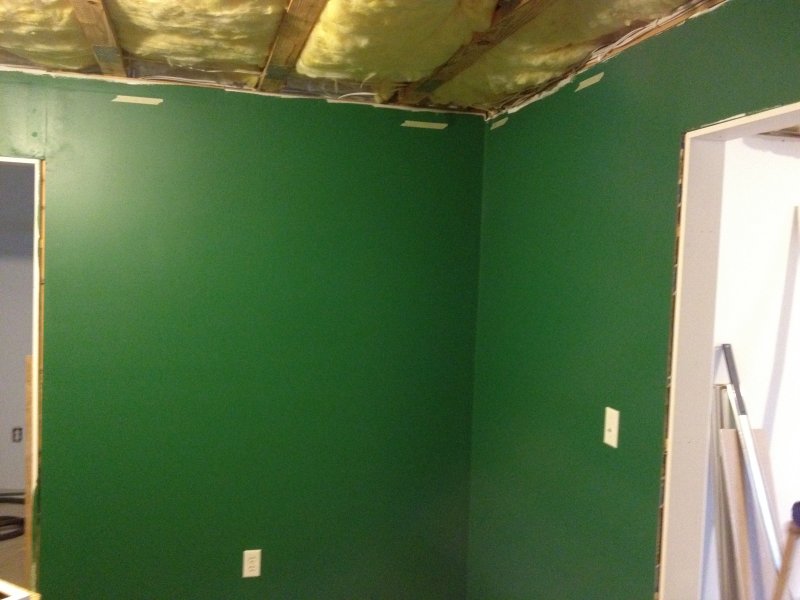
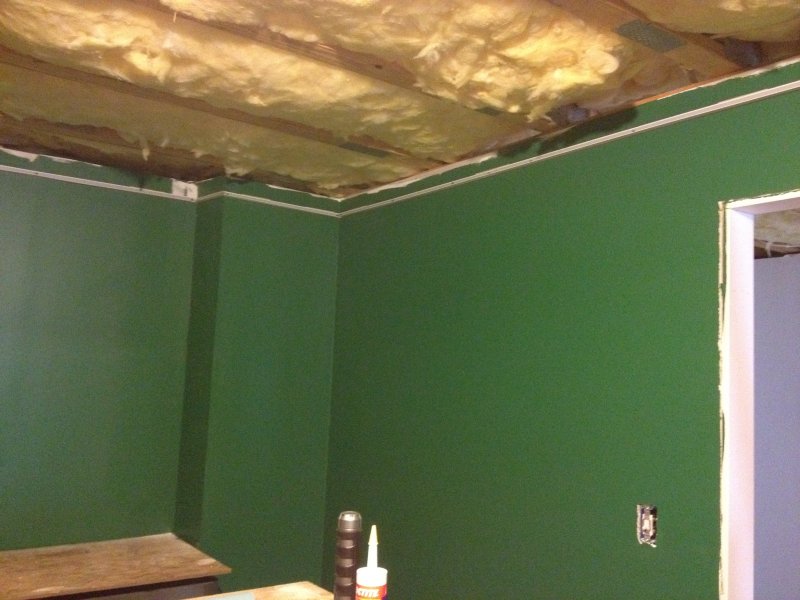
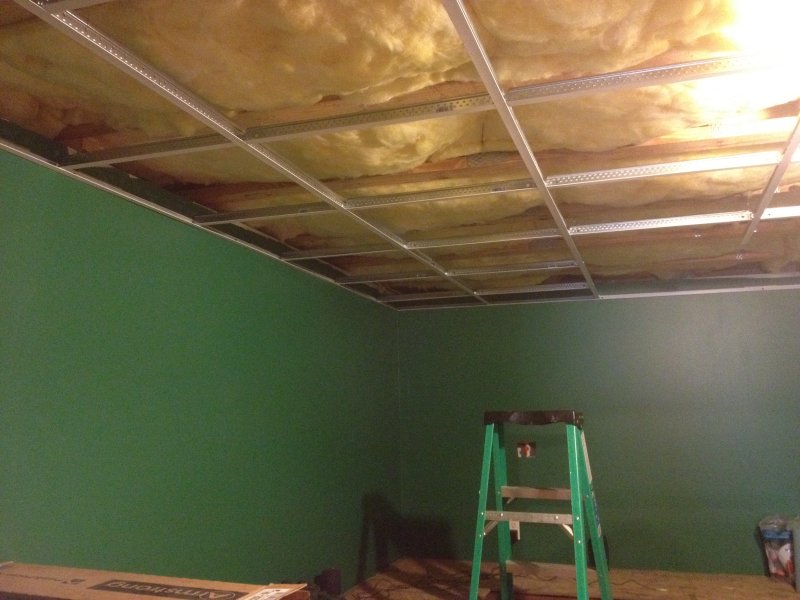
Over the last couple of weeks I’ve spent a few hours touching up some spots on the walls that showed a little too much with an eggshell paint on them and getting the ceiling border track up. Today I got about 3/4 of the way through hanging the whole grid.
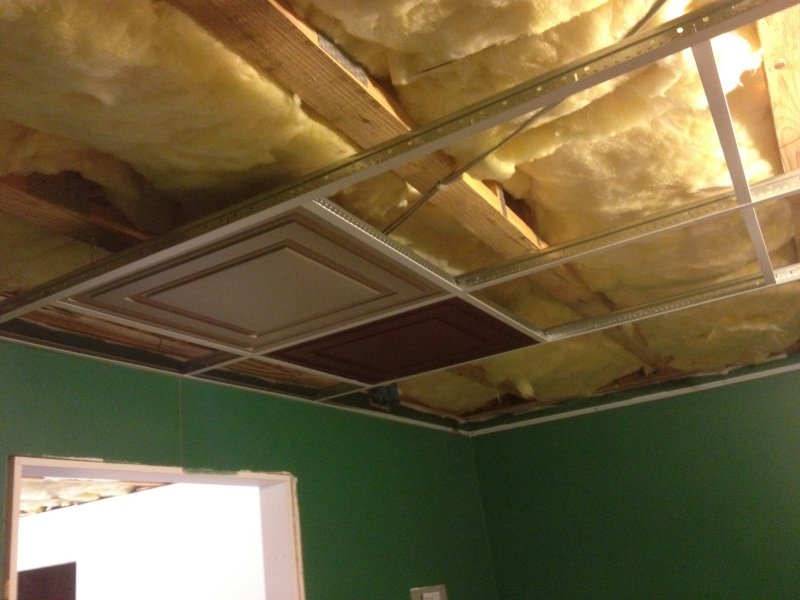
Started off finding center of the longest wall and set the laser level into plumb and level mode. I hung the first two beams and it dawned on me I never bothered to translate the same center line to the other end of the room when I set up the laser. So needless to say, there was a bit of a skew going on. ![]() In the process of trying to move the two beams I had hung an inch or two to new hangers, one slipped and brought most of the stuff I had up crashing down, drew blood, so the room is officially mine (nothing new is yours until you scratch it or bleed on it!)
In the process of trying to move the two beams I had hung an inch or two to new hangers, one slipped and brought most of the stuff I had up crashing down, drew blood, so the room is officially mine (nothing new is yours until you scratch it or bleed on it!)
After getting the center line squared away, the track flew up pretty quick. Unfortunately no matter how I set the grid there was not going to be an even edge tile spacing on all four walls due to there being a couple of kickbacks on two walls. Nothing some crown molding wont hide. 😉
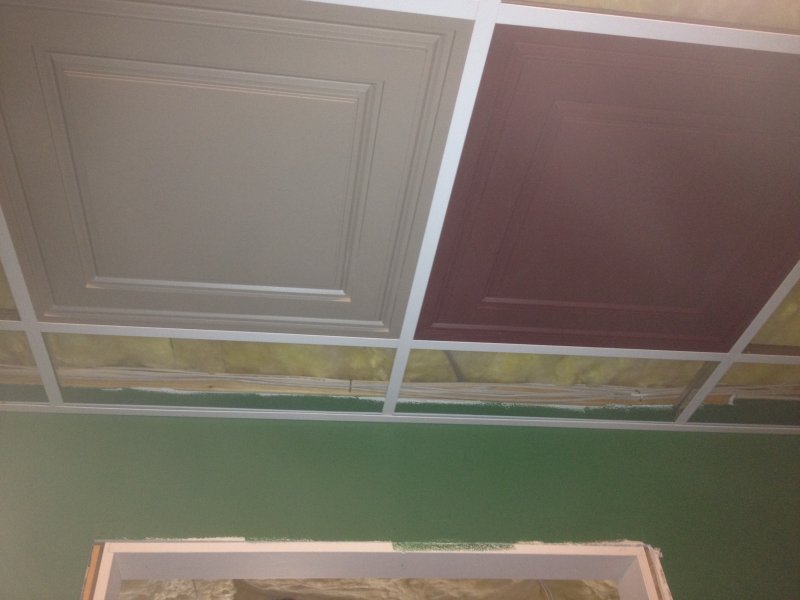
I popped in the two samples we’re looking at so we could see what it’s going to look like against the green. The tile we’ll be using is a (thinner than I’d like, we’re talking water bottle wall thin, but crazy light) plastic. This will serve two purposes, first is it wont be white, second is it’s not going to be susceptible to water damage if things go fubar on the 1st floor.
Next steps will be to get a quart of paint to match the tile so I can paint the track to match and figure out all of the lighting locations now that I know where the grid is. We’ll probably do 6-8 small hanging lights over the bar and a few small spots to highlight locations on the walls for posters/art.
I’ll let the pics tell the rest of the story.
Related Posts
-
 Come on baby light my baaarrr…
No Comments | Jul 29, 2012
 -
 If a bar could be a room, would it?
No Comments | Aug 27, 2010
 -
 And then man learned to shape stone…
No Comments | Sep 4, 2011
 -
 Ya wanna go get hiiiiggghhh?
No Comments | Jan 13, 2012
