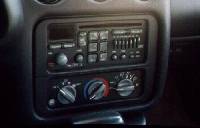
Shown here is the factory CD player before removal was begun.
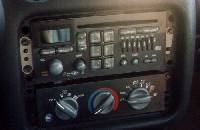
Shown here is the factory CD player after having removed the trim ring. The factory wireing harnes and speaker wire has been left intact for re-installation of the factory headunit and speakers upon future sale of vehicle.
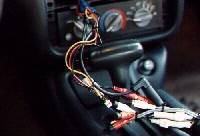
Shown here is the wireing harnes for the Clarion DRX-9175L headunit. Included in the harnes are a DIN and an RCA cable used to connect the headunit to the Clarion DPH-7100 EQ unit mounted the hatch area. The headunit is powered by the factory wireing harnes and is fused both at the factory fuse panel and with the headunits own inline fuses as shown in this figure.
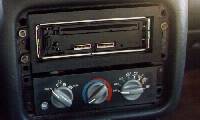
Shown here is the Clarion DRX-9175L headunit in place before replacing the factory trim ring and attaching the removable faceplate.
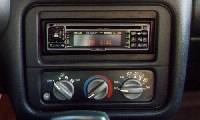
Shown here is the Clarion DRX-9175L headunit in place after replacing the factory trim plate and attaching the removable face plate.
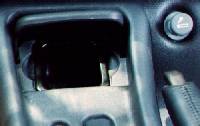
Shown here is the ashtray before reomval to make room for the control knob of a Petras Q-1 "Mr. Q" bass processor.
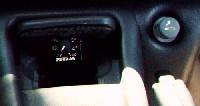
Shown here is the control knob for the Petras bass processor. After removing the ashtray from the compartment a section of 1/4 inch plywood was glued to the lid of the ashtray, the control knob for the bass processor was then mounted to the section of plywood and the wire was routed to the hatch area along the drivers side of the vehicle.
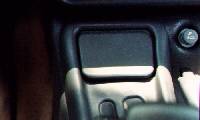
Shown here is the ashtray in the closed position after installation of the bass processor control.
| Copyright ©Russell A. Hatfield, 2001-forever |
This site is designed for a resolution of 800X600 or higher.