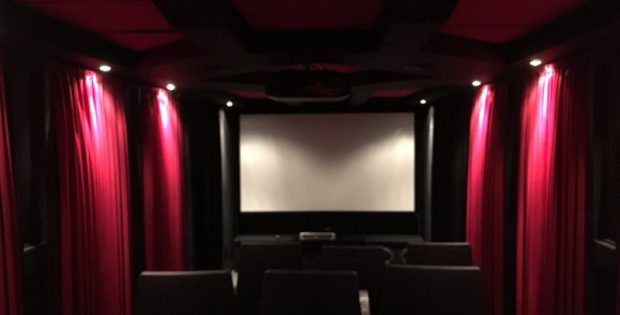
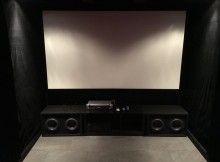
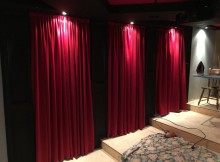
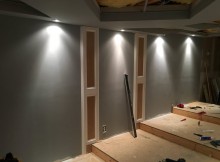
Quick update on the wall treatment work. After much review reading I settled on putting strips of Black Plush Triple Velvet on the walls next to the screen
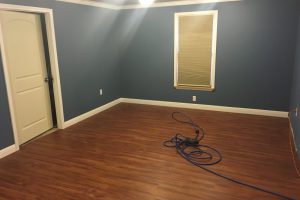
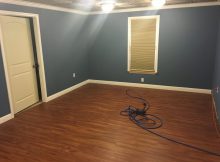
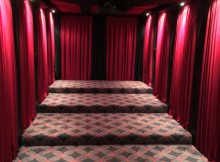
Carpet installers showed up as scheduled and knocked it out in about 1.5 hours. I kinda figured it would be impossible for them to do one continuous run
So the plan to have folks over for the game didn’t happen, just too many pieces still haven’t fallen into place yet. Five yard penalty, repeat 763rd down! Since
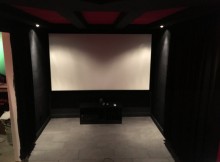
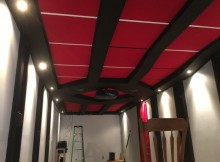
In the ‘holy crap this thing is coming together’ category, the ceiling is pretty much buttoned up! I settled on some red burlap from a local fabric store.